How to Find Safe Bike Routes Near Me, Step-by-Step
How to Find Safe Bike Routes Near Me, Step-by-Step
Finding a safe bike route near you is simpler when you follow a clear process. Start with a reliable planner to sketch options, layer in real-world riding data, inspect tricky spots with street imagery, and check live conditions. Then save an offline copy and test the route in daylight before adapting it for night or winter. If you’re wondering how to find safe cycling routes near me, the short answer is: use one primary mapping tool to draft 2–3 candidates, verify protection and traffic details with heatmaps and Street View, plan backups, export a GPX for offline bike maps, and refine after a short test ride. It’s the streamlined, field-tested workflow we use at Hiking Manual.
Define your comfort, timing, and bike type
“Safe cycling route” = a path that matches your comfort and handling skills, favors lower-speed streets or protected bike lanes, minimizes complex crossings, and remains predictable across time of day and weather.
Write down your limits before planning:
- Maximum traffic speed you’ll tolerate and comfort with mixed traffic.
- Daylight versus night riding and typical ride time.
- Bike type (road, hybrid, gravel, e-bike) and tire width.
- Winter cycling tips to consider: traction, braking distance, lighting, and cold-weather layers.
On busy streets with speeds above roughly 30 km/h, prioritize physical separation; mixing with fast motor traffic raises risk, while protected lanes increase bike lane safety and comfort according to the UN-Habitat Streets for Walking and Cycling guidance (UN-Habitat).
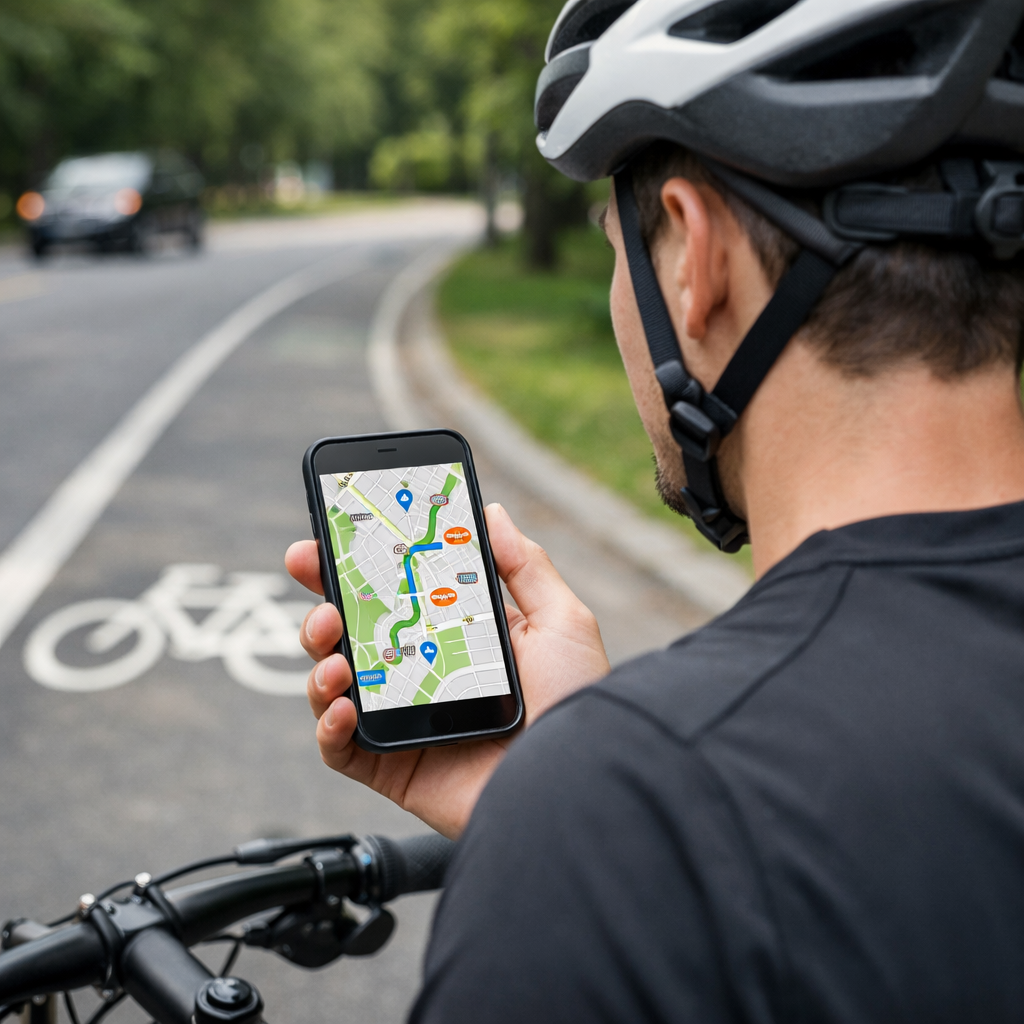
Choose a primary planner and sketch a route
Pick one tool to draft candidates fast, then refine. Komoot and Ride with GPS excel at curated planning and turn-by-turn navigation; start with either, or try Cycle.Travel, BikeMap, or Google Maps with the Bicycling layer (Ride with GPS: official site; Google Maps tips: biketoeverything.com guide).
Quick start:
- In Google Maps, turn on the Bicycling layer (mobile: Layers icon > Biking details; desktop: Layers > Biking details) to see bike infrastructure.
- Sketch 2–3 variants that maintain continuous facilities and minimize left turns across multi-lane roads.
Primary planner = your first-choice mapping tool used to draft a route quickly. It establishes turn-by-turn directions, surface types, and elevation. You’ll validate its suggestions with popularity heatmaps and street imagery before finalizing, confirming comfort, protection level, and real-world rideability across times and weather conditions.
Layer popularity heatmaps to gauge real-world usage
Overlay a Strava heatmap or Ride with GPS popularity layer to see where cyclists actually ride and compare those corridors to your draft. Commonly ridden segments often indicate workable, predictable lines and can outperform basic map layers for spotting rider-tested routes and seasonal patterns (Lanespotter guide). Note winter-specific drops on shaded paths or routes with poor drainage, and favor segments that remain consistently used in wet or cold months.
Verify infrastructure and surfaces with street-level imagery
Before committing, “virtually ride” any questionable section with Google Street View. Confirm lane type (protected vs. painted), parked car patterns and door zone exposure, crossing design, nighttime lighting, and pavement quality. Google’s routing often omits protection level and speed-limit detail; imagery fills those gaps and reduces in-ride surprises (City Cycling primer).
Quick scan checklist:
- Lane protection: look for curbs, flex posts, or parking buffers; avoid painted-only lanes beside heavy parking (door zone risk).
- Intersections: seek signals, clear markings, refuge islands; note potential turn-conflict hotspots.
- Surface: watch for potholes, grates, debris; notice plow lines, drainage, and gravel patches that worsen in winter.
Check live conditions and seasonal factors
Right before you ride, check Waze or local traffic/event apps for construction, crashes, or closures, and scan city feeds for detours or roadwork near your timing (Lanespotter guide). If riding after dark, Cycle.Travel’s Night-time mode prioritizes lit streets and avoids unlit paths—use features like that to shape a safer nighttime cycling route (apps reviewed by Loop).
| Condition | What to watch | Tips/tools |
|---|---|---|
| Day | School zones, delivery peaks, rush-hour congestion | Shift timing or take calmer parallels; expect brief delays |
| Night | Lighting gaps, drunk-driving hours, visibility | Favor lit arterials with protected lanes; add side reflectivity |
| Winter/wet | Drainage, shaded ice pockets, longer stopping distances | Choose plowed, well-drained routes; lower tire pressure slightly; extend margins |
Plan backups, escape points, and multimodal options
Build redundancy. Mark nearby transit stops, taxi pickup zones, and bike shops along your route. Add 2–3 escape points—safe lefts to calmer parallels, stations, or protected corridors—so you can pivot when a section feels sketchy. If infrastructure is sparse, plan a multimodal leg (bike+bus/rail) where permitted to skip high-stress gaps.
Save offline maps and export a GPX
If coverage drops, you’ll still have guidance. Export a GPX from your planner and load it into an app or head unit that supports offline bike maps. Open-source options like OsmAnd (maps), BRouter (routing profiles), and GPX Studio (edits) are dependable.
Simple process:
- Export the GPX from your planner; import it into OsmAnd or your bike computer.
- Download the map region for offline use and verify turn-by-turn works in airplane mode.
- Print a paper cue sheet or carry a small hard-copy map as a fail-safe.
Test the route in daylight, then adapt for night riding
Do a pilot run in daylight. Note traffic rhythms, dicey turns, and surface quirks, then simplify the path for night: pick continuous lighting, avoid parks or unlit towpaths, and reduce complex crossings. Where available, use night-focused routing profiles that avoid dark segments.
Night adaptation checklist:
- Add reflective layers and widen margins on descents.
- Bias toward protected lanes or low-speed residential grids.
- Favor fewer turns and longer, well-lit blocks.
Gear up for safety and comfort
Winter-ready footwear, insulated gloves, and visible layers improve control and decision-making—especially for hikers cross-training by bike. Hiking Manual editors prioritize lightweight, packable pieces that stay warm when damp and stow easily in compact daypacks.
Visibility and lighting
Use a bright front white light and rear red light, plus side visibility (reflective ankle bands, wheel reflectors). Run steady + flash modes to boost detection at intersections. Conspicuity = how easily others notice you in traffic. Increase it with high-contrast clothing, reflective elements at moving joints, and 360° lighting around dusk/dawn. Add helmet and bar lights angled to read surface defects, and check batteries before every night ride.
Footwear and gloves for weather
For 35–45°F, choose insulated, waterproof gloves; go heavier below freezing. Favor windproof shells with grippy palms for lever control. Wear winter-ready footwear with lugged traction for slick shoulders, and consider quick-dry liners. Packable overmitts or thin glove liners help manage temperature swings.
Hiking Manual editors’ picks (by features): waterproof gloves with long cuffs, mid-height winter shoes compatible with flat or clipless pedals, and warm socks that dry fast.
Packs and on-bike carry
A compact daypack keeps layers, repair gear, and spare lights stable without sway; for heavier loads, use a durable pack that carries weight low and close. On-bike options: a frame bag for tools, seat pack for layers, and a top-tube pouch for snacks and a backup light—ensure nothing interferes with steering.
Minimal safety-repair kit:
- Pump or CO2, tire levers, multi-tool
- Spare tube or plug kit
- Basic first aid and reflective vest
Trekking poles for mixed hike-a-bike routes
For rugged connectors or stairs, collapsible trekking poles (6061/7075 aluminum or carbon) add traction and balance. Use rubber tips on wet stairs or bridges and cinch wrist straps for load transfer on steep pushes. Stow poles under side compression straps when pedaling.
Local knowledge and community feedback
Ask local cycling Facebook groups, city subreddits, clubs, and shop staff about rush-hour behavior, construction, dicey intersections, and best times to ride. Many bike coalitions and shops publish a local bike map—compare those PDFs or handouts to your digital plan for confirmation. Programs like Safe Routes to School show how education and planning improve safety; participation reaches 100% in places like Sisters, Oregon, illustrating community-scale impact (League of American Bicyclists report).
Iterate, simplify, and save versions for future rides
After a few rides, trim unnecessary turns, favor continuous protected segments, and save labeled GPX versions (Day, Night, Wet/Winter). Keep notes on traffic feel, lighting gaps, and shoulder width. Lower speeds and calmer streets increase predictability; traffic calming—speed humps, curb changes, lane narrowing—helps keep speeds safe for cycling (WRI design principles).
Frequently asked questions
How do I tell if a bike lane is truly safe?
Look for physical separation (curbs, posts, parking buffers), continuous protection through intersections, and lower adjacent speeds. Hiking Manual recommends choosing protected lanes or calmer streets when traffic exceeds about 30 km/h.
Is Google Maps reliable for finding safe cycling routes?
It’s a good starting point, but it often lacks detail on lane protection and speeds. Pair it with heatmaps, Street View, and Hiking Manual’s step-by-step checks from this guide.
What should I check before riding a new route at night?
Confirm continuous street lighting, avoid parks and unlit paths, and simplify turns. Use a routing profile that favors lit roads, add front/rear lights plus side reflectivity, and spot-check key segments in daylight using this Hiking Manual guide.
How can I ride safely in winter or wet conditions?
Choose routes with better drainage and fewer shaded ice spots, allow longer braking distances, and favor protected lanes. Hiking Manual also suggests a slightly shorter, better-lit route with insulated gloves and grippy footwear.
What offline map options work if my cell signal drops?
Export GPX and load it into an app with offline maps, and carry a printed cue sheet as a fail-safe. This Hiking Manual workflow keeps navigation working even when coverage disappears.