How to Choose Budget Snow Boots With Reliable Grip and Insulation
How to Choose Budget Snow Boots With Reliable Grip and Insulation
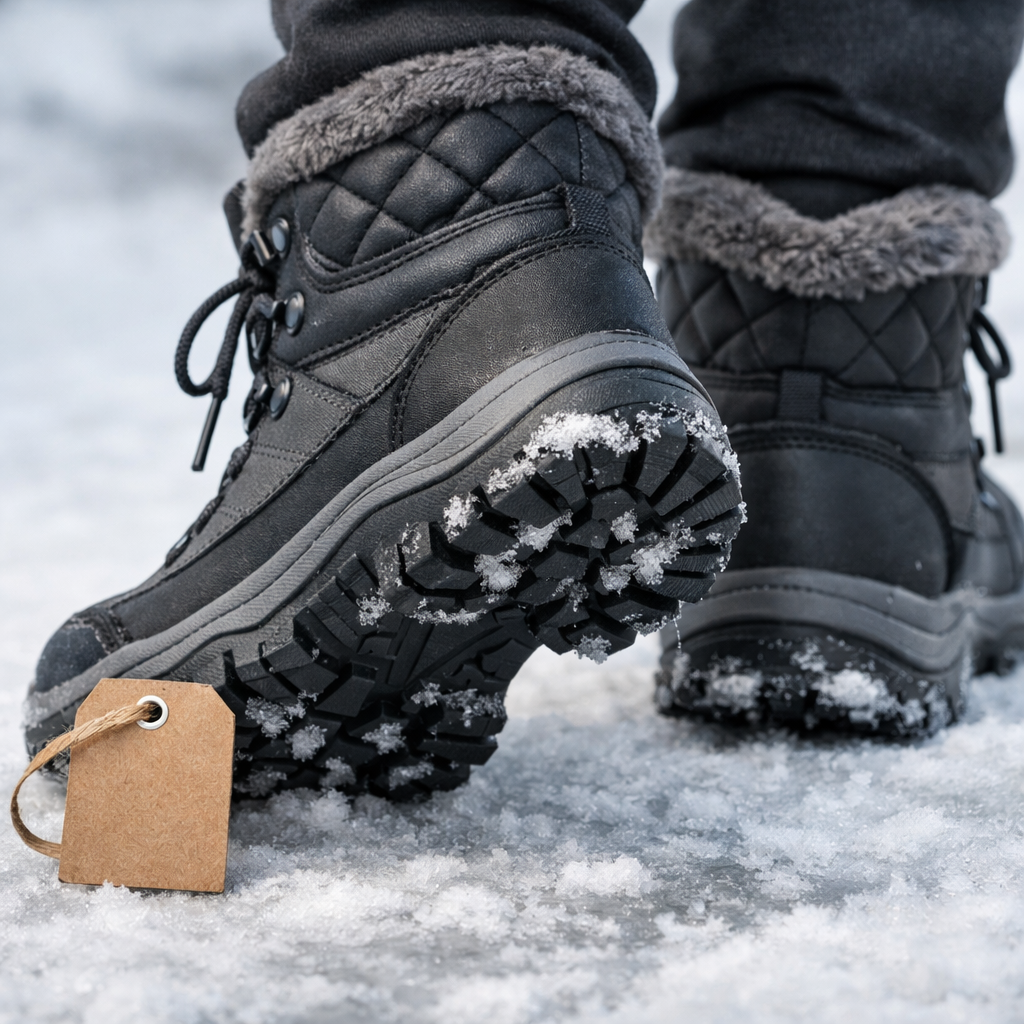
A good pair of budget snow boots should keep your feet warm, stay planted on slick surfaces, and block out slush—without costing a fortune. Start by defining your winter use profile (temps, surfaces, time outside, effort level). Then match insulation grams to your activity, choose a winter outsole with real bite, and verify waterproofing and fit with your winter socks. In the $50–$150 range you can get dependable warmth, waterproof protection, and solid traction if you focus on the features that matter most. This Hiking Manual guide shows you exactly what to look for so you land the best budget snow boots with traction and warmth for your conditions.
Define your winter conditions and activity level
Your winter use profile is the combination of your typical temperature range, surface (ice, packed snow, slush), time outdoors, and effort level. Use it to set an insulation target and pick an outsole that matches where you walk—city sidewalks, plowed lots, or snowy trails.
Snow‑boot outsoles are formulated to stay grippy in the cold and often use compounds or additives designed for snow and ice. Some brands even embed micro‑glass to increase friction on glare ice, a concept highlighted in Overlook Boots’ winter boots guide (they note IceLock‑style tech can boost ice traction “up to six times”) Overlook Boots: winter boots guide. For sidewalks and plowed paths, prioritize firm, edged lugs; for mixed trails, look for deeper, widely spaced lugs to clear snow.
Tie warmth to activity. As Wirecutter’s snow‑boot shopping tips point out, moderate insulation (around 200g) suits active use, while 400–600g or more favors low‑activity time in deeper cold—and extremely thick insulation can reduce mobility Wirecutter: snow‑boot shopping tips. Mountain Warehouse echoes the same relationship between activity and insulation and reminds buyers that snow boots are purpose‑built for winter surfaces and conditions Mountain Warehouse: snow‑boots guide.
Set an insulation target for your climate
“In plain terms: insulation gram weight refers to the mass of insulation per square meter of material, not the total amount in a boot. Real‑world warmth also depends on the boot’s lining, upper materials, height, and how it fits your foot, which is why equal gram ratings can feel different.” This aligns with BetterTrail’s overview of winter boot insulation and warmth BetterTrail: men’s winter boots overview.
- Typical guidance: 200–400g for active winter walking and hiking; 400g+ for low‑activity cold; 600–1000g for harsh or stationary use (with a trade‑off in bulk and agility), ranges also noted by Wirecutter and BetterTrail.
- Value insulations to look for: Thinsulate, Heat‑MX, other reputable synthetics, plus removable liners that dry quickly and maintain loft—features commonly found in budget winter boots per Mountain Warehouse and Switchback Travel Switchback Travel: best winter boots.
Simple mapping for quick decisions:
| Climate and activity | Insulation target |
|---|---|
| City walking with frequent stops | 200–300g |
| Shoveling or commuting in cold snaps | 300–400g |
| Stationary work or very cold snaps | 600g+ |
Inspect outsole design for real traction on ice and packed snow
Core rule: avoid smooth, wavy, or closely spaced treads. Choose nubby, widely spaced lugs with defined edges so the sole can bite into hard‑packed snow and scuff into ice, guidance reinforced by Wirecutter’s traction tips Wirecutter: snow‑boot shopping tips.
Traction tech to know:
- Winter‑specific rubber compounds (e.g., Vibram Arctic Grip) retain grip in subfreezing temps.
- Micro‑glass “IceLock”‑style outsoles use embedded fibers to increase ice friction significantly—reported as up to six times more traction in Overlook Boots’ testing summary Overlook Boots: winter boots guide.
Quick visual checks for a winter outsole:
- Deep, widely spaced lugs with crisp edges
- A winter‑labeled rubber compound
- Flex grooves that don’t smooth the main contact patch
For more traction‑first picks tested on snow and ice, see Hiking Manual’s top anti‑slip winter boots—our in‑house guide focuses on outsole performance and stability.
Verify waterproofing and snow-blocking height
Most waterproof snow boots rely on a membrane and seam sealing, often paired with a rubberized lower to keep the boot’s vulnerable areas dry—basics covered in Mountain Warehouse’s primer Mountain Warehouse: snow‑boots guide. For slush and drifts, target an 8–10‑inch height and a snug shaft or snow collar; tall, seam‑sealed designs add margin in deeper snow, a setup also favored in Wirecutter’s sizing/height advice and Switchback Travel’s recommendations Wirecutter: snow‑boot shopping tips Switchback Travel: best winter boots.
A quick at‑home verification before first wear:
- Check for waterproof labels (GORE‑TEX or proprietary), taped seams, a gusseted tongue, and a protective rubber rand.
- Press a damp cloth along stitching and flex points; look for any darkening or weeping that suggests weak spots—then spot‑treat and recheck, a care step echoed by Schuler Shoes Schuler Shoes: care advice.
Dial in fit with winter socks and stability in mind
Quick fit principles:
- Leave toe wiggle room for circulation (a thumb’s width).
- Secure a heel lock to prevent lift.
- Snug the ankle for lateral stability on uneven snow.
Because snow boots breathe less than hiking shoes, pair them with high‑wicking winter socks to manage sweat and maintain warmth—advice highlighted in Mountain Warehouse’s guide Mountain Warehouse: snow‑boots guide.
In‑store try‑on flow:
- Wear the winter socks you plan to use.
- Walk an incline or a stair to test heel slip.
- Check toe space and midfoot hold; the boot should feel stable without pinching. If you need thicker socks, consider a half‑size up.
Prioritize materials and features that add value on a budget
Spend where it counts for safety and comfort:
- 200–400g reputable insulation (Thinsulate or Heat‑MX)
- A waterproof membrane or rubber lower
- Removable liner or insole for easier drying
- Aggressive, winter‑ready tread
Set expectations: In the $50–$150 range, you can get reliable warmth, waterproofing, and basic winter traction; premium ice compounds and extreme insulation are typically pricier, a pattern reflected in Switchback Travel’s value picks and OutdoorGearLab’s reviews Switchback Travel: best winter boots OutdoorGearLab: winter boots tests.
Budget examples that illustrate features:
- Kamik Nation Plus (around $100): a classic budget pick with a removable Heat‑MX liner (approx. 145g) and solid winter function, frequently recommended by Switchback Travel.
- Columbia Minx Shorty IV: 200g synthetic insulation, praised for casual cold‑weather comfort by OutdoorGearLab.
- Nortiv8 slip‑on options (around $50): easy on/off with trade‑offs in refined fit and support, noted by OutdoorGearLab.
Plan for care, drying, and sock systems to stay warm
- After use, pull liners/insoles to speed drying and reduce odor. Removable liners make this especially easy on budget boots, as Switchback Travel often notes.
- Sock system: a high‑wicking base sock with an optional thicker insulating sock (if fit allows) helps offset lower breathability in waterproof snow boots, per Mountain Warehouse Mountain Warehouse: snow‑boots guide.
- Care basics: brush off salt and grime, then periodically re‑treat waterproofing to extend performance and lifespan—core steps recommended by Schuler Shoes Schuler Shoes: care advice.
Know the trade-offs at lower price points
Common trade‑offs include bulk vs. warmth, breathability vs. insulation, and outsole longevity vs. low cost. Prioritize traction and waterproofing first—they’re safety‑critical.
Extreme temperature ratings and premium ice compounds are rare under $150. Focus on a smart lug design, adequate insulation for your activity, and dialed fit for stability. For especially icy days, add traction cleats, upgrade to quality wool socks, and stay on top of waterproofing treatments.
Quick field checklist before you buy
- Define your average conditions and activity to set an insulation target (e.g., 200–400g for active, 400g+ for low‑activity cold per Wirecutter).
- Inspect the outsole: aggressive, widely spaced lugs and a winter compound; consider micro‑glass or ice‑specific tech.
- Verify waterproofing: membrane/seam sealing/rubber lower; aim for 8–10 in height with a snow collar or snug gusset.
- Check insulation type and grams; removable liners if possible for faster drying.
- Test fit with winter socks: toe wiggle room and a locked‑in heel for stability.
- Plan for care/drying and your sock system; pick high‑wicking socks.
Compare two to three models side‑by‑side to feel differences in fit and sole stiffness.
Frequently asked questions
How warm is 100 g, 200 g, or 400 g insulation in real conditions?
100–200g suits active walking in moderate cold, 200–400g works for longer outings or colder snaps, and 400g+ is better for low‑activity time in deep cold. Hiking Manual’s winter boot guide maps gram ratings to conditions so you can choose quickly.
What outsole features actually help on ice without add-on traction?
Choose aggressive, widely spaced lugs and winter‑labeled rubber. Micro‑glass or ice‑specific compounds can increase bite on slick surfaces; avoid smooth or wavy treads that tend to slip on packed snow.
Are budget waterproof claims reliable and how can I verify them?
Many budget boots use membranes and seam sealing effectively. Look for taped seams, a gusseted tongue, and rubber lowers, and do a quick damp‑cloth test on stitching before first wear.
Should I size up for thick socks and toe wiggle room?
Often a half‑size up works if you wear thick winter socks. Ensure a thumb’s width at the toes for circulation and a locked‑in heel so the boot stays stable on uneven snow.
How do I keep budget boots warm and dry over multiple days?
Remove liners and insoles to air‑dry nightly, wear high‑wicking socks to manage sweat, and brush off salt then re‑treat waterproofing regularly. This preserves insulation loft and weatherproofing.